In our increasingly connected world, a reliable and robust Wi-Fi network is essential. Whether you’re working from home, streaming your favorite shows, or simply browsing the web, a strong and stable internet connection is a necessity. However, even with the best internet service provider, there are bound to be areas in your home where the Wi-Fi signal is weak or non-existent. This is where a Netgear extender can come to the rescue, and in this article, we will guide you through the process of setting up your Netgear extender for a seamless internet experience.
Why Do You Need a Netgear Extender?
Before diving into the setup process, it’s essential to understand why you might need a Netgear extender. Weak Wi-Fi signals can be a result of several factors, such as the size and layout of your home, interference from other electronic devices, and the limitations of your router’s range. A Netgear extender, also known as a Wi-Fi range extender or booster, can help in extending the coverage of your existing Wi-Fi network. It works by receiving the signal from your router and rebroadcasting it, effectively expanding the coverage area and eliminating dead zones.
Preparing for the Setup
To get started with your Netgear extender setup, you’ll need a few things:
-
A Netgear extender: Make sure you have the right model that suits your needs. Netgear offers various extenders designed for different purposes and coverage areas, so choose the one that fits your requirements.
-
A computer or mobile device: You’ll need a device to access the Netgear extender’s settings and perform the setup.
-
A reliable Wi-Fi network: Ensure that your existing Wi-Fi network is functioning correctly, as the extender will depend on it.
-
A power source: The extender needs to be plugged into an electrical outlet, so make sure you have an available outlet nearby.
Setting Up Your Netgear Extender
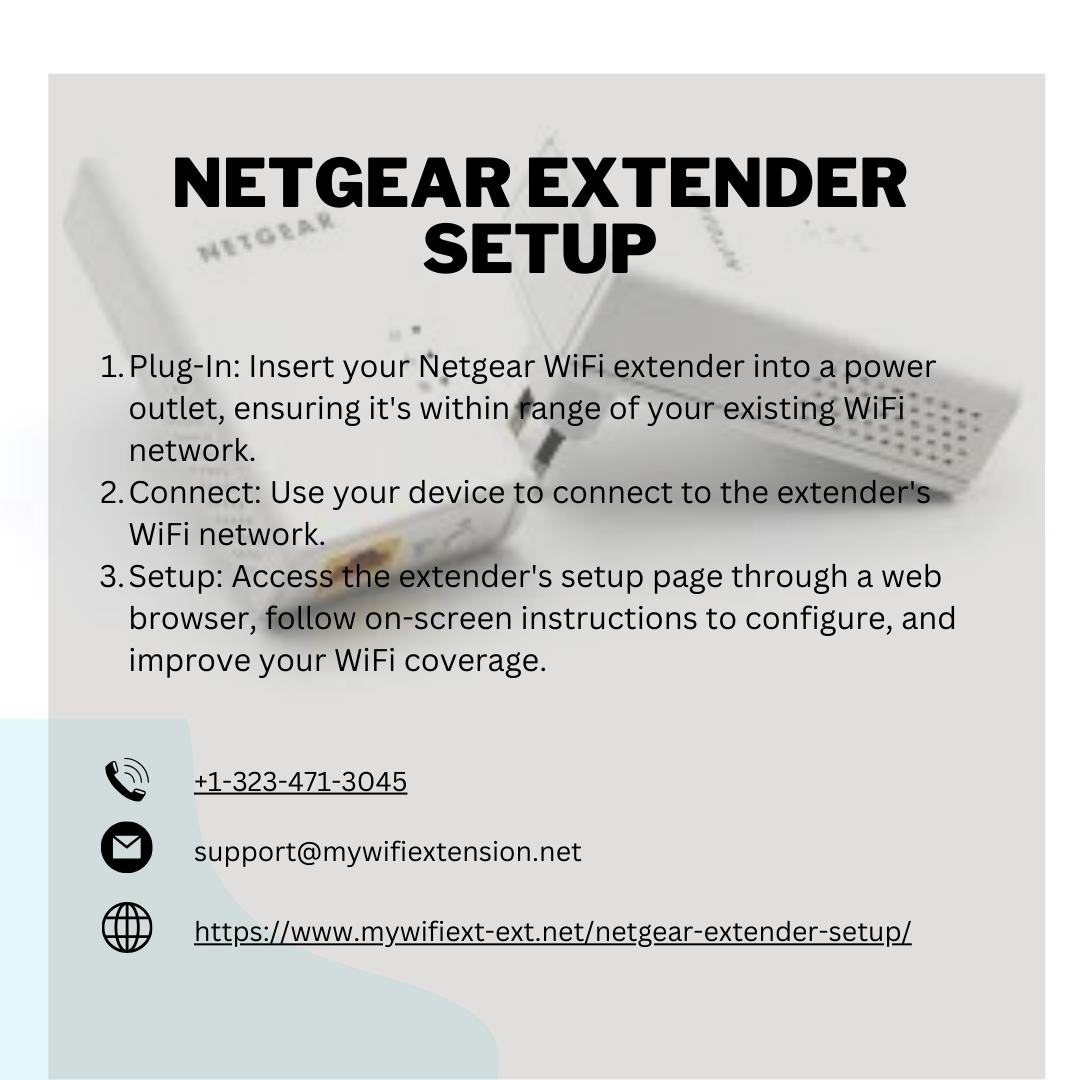
Once you have all the necessary equipment and are ready to start, follow these steps to set up your Netgear extender:
-
Plug in the extender: Find a location in your home where the extender can receive a strong Wi-Fi signal from your router. Plug the extender into an electrical outlet and wait for the power LED to light up.
-
Connect to the extender: On your computer or mobile device, go to the list of available Wi-Fi networks and connect to the Netgear extender’s default network, which is usually named something like “NETGEAR_EXT.”
-
Access the extender’s settings: Open a web browser on your connected device and enter the extender’s default web address, which is often “mywifiext.net” or “192.168.1.250.” This will take you to the Netgear extender’s setup page.
-
Set up your extender: Follow the on-screen instructions to configure your Netgear extender. You may need to choose your existing Wi-Fi network from the list of available networks and enter your Wi-Fi network’s password.
-
Wait for the extender to reboot: After configuring the settings, your extender will restart, and you’ll be prompted to reconnect to the extended Wi-Fi network.
-
Test the extended network: Finally, make sure your extender is working correctly by connecting your devices to the extended network and checking for improved coverage and signal strength in previously weak areas of your home.
Final Thoughts
A Netgear extender can be a game-changer for your home network, ensuring that you have strong and reliable Wi-Fi coverage throughout your space. With a straightforward setup process, you can quickly eliminate Wi-Fi dead zones and enjoy seamless connectivity on all your devices. Remember to choose the right extender model, place it strategically, and follow the steps outlined in this article to simplify your home network with Netgear extender setup. Say goodbye to frustrating dead zones and enjoy uninterrupted internet access throughout your home.