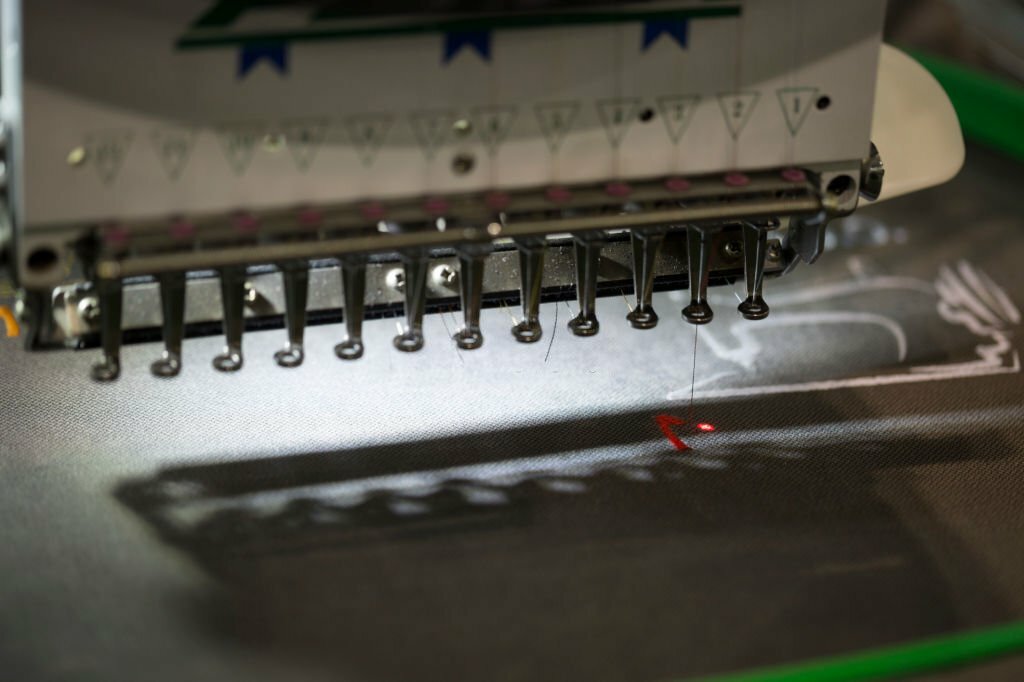
Digitize embroidery or embroidery digitizing! Whatever the word you are going to read, the meaning is the same. It is a process in which you have to convert artwork into a digital file with the help of software that will enable the embroidery machine to better understand the needle’s path for stitching. You must know that the process is not automatic; it is called an art form if the work is done in the right way. The majority of the embroidery machines have their own specific software that will enable smooth working and the digitizer can control the function by reading the instructions from the file that is being digitized.
Moving on, embroidery machines are not capable of reading standard image files like JPG, PNG, or PDF. There is no way that you can use them instead of embroidery files because the machine will not be able to understand them and can’t stitch them. The embroidery-specific file formats like PES, DST, EMB, and many more will be only understood by the embroidery machine.
Digitize Embroidery – Embroidery File Types You Should Know!
If you are planning to get quality embroidery digitizing services in USA, you should be aware of the following embroidery file types:
.exp: It is ideal for Melco commercial embroidery machines.
.dst: Perfect for the Tajima commercial embroidery machines.
.tap: Best for the Happy commercial embroidery machines.
.kwk: Ideal for the Brother commercial embroidery machines.
.jef: This format is compatible with Janome commercial embroidery machines.
.tap: Format is best for the Happy commercial embroidery machines.
As there are specific formats for every embroidery machine that you will be planning to use, you have to convert jpg to pes or any other particular embroidery-specific files.
Steps of the Process
Now, let’s have a look at the different steps that are part of the digitized embroidery process:
1- Firstly, you are going to upload the logo which is the design or artwork you have selected to be placed within the digitizing software.
2- Setting up the size of the embroidery design.
3- Picking up the type of stitch for the process.
4- Finalizing the direction of the stitch.
5- Transfer the file to the embroidery machine.
Preparation of the Artwork
The professional who is going to perform the process is known as the digitizer. He will be analyzing the artwork and will see if it should be edited for embroidery. The final size of the design should be kept in consideration. Not all the logos will be working well for the embroidery because if you design a logo for the business card, it can’t be used on the embroidery. You will definitely need to modify the design.
Selection of the Stitch Type
Different types of stitches are part of the digitized embroidery process which are used for achieving different textures, looks, and more. You must note that every stitch has its own length that should be kept in mind. Consideration of fabric type along with the push and pull of the garment is important for the selection of stitch types. The three commonly used are:
Straight Stitch
It is called the foundational stitch where you will use the straight line repeatedly for making a pattern. To make the thick lines, you have to repeat the straight stitch multiple times. Remember that straight stitches are not available for straight lines, they can be used for curved shapes too. It is used for outlining, shading, and detail working.
Satin Stitch
Planning to have text embroidery, so that satin stitch is perfect. The long length of thread provides you a shiny look and is ideal for lettering, The max length of the stitch is 12.1mm. You can commonly use it for the borders, words, texts, and to get a shiny look.
Fill Stitch
It is also called the tatami or ceding stitch. This type of stitch is used to fill up the patterns as the name suggests. The stitch type is going to use the alternating line to provide the embroidery with a woven appearance. The maximum length of the stitch is for the fill stitch which is 4mm.
Push and Pull
The push and pull is the next important consideration for digitizing the embroidery process. A design might be moving while it is being embroidered. It will be causing some of the stitches to shift. Later on, the shifting can occur when you are going to use a bulky fabric, large areas of threads, long stitches, and a tight bobbin thread. A competent digitizer during the process will be keeping these things in mind.