Introduction:
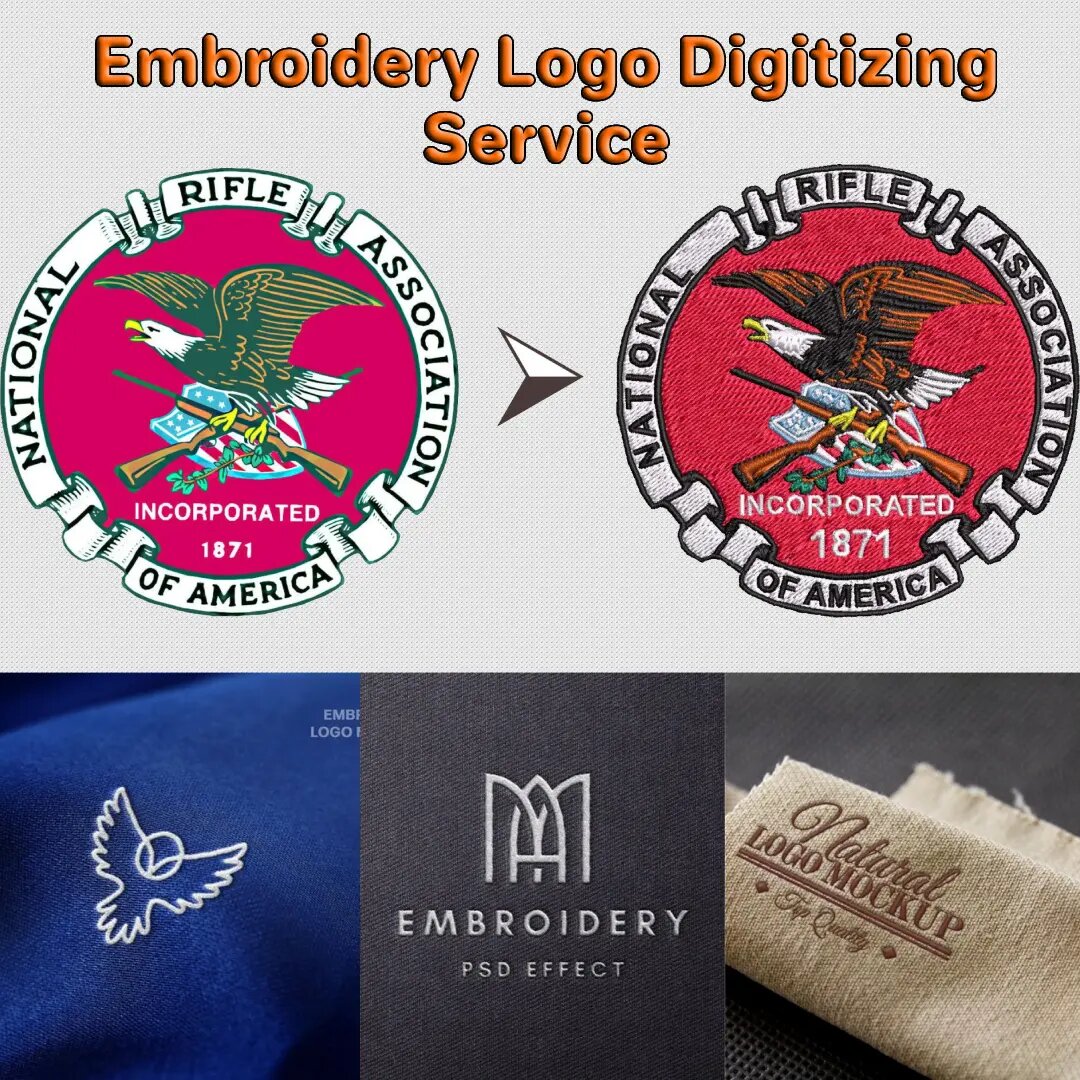
Embroidery has long been a cherished art form, transforming plain fabrics into vibrant canvases of intricate designs. In the modern era, digitizing logos for embroidery has become a crucial aspect of this craft, marrying traditional craftsmanship with cutting-edge technology. This article explores the process of digitizing logos for embroidery, shedding light on the art and science behind this fascinating fusion.
I. Understanding Digitizing for Embroidery:
Digitizing is the process of converting a logo or design into a digital format that an embroidery machine can interpret and stitch onto fabric. Unlike printing, which deals with pixels, embroidery involves the use of stitches. Digitizing thus requires specialized knowledge to translate the visual aesthetics of a logo into a language understood by the machine.
II. Choosing the Right Software:
The first step in digitizing a logo for embroidery is selecting the right software. Specialized embroidery digitizing software, such as Wilcom, Pulse, or Hatch, provides the tools needed to create a stitch file. These programs allow designers to define stitch types, directions, densities, and other parameters critical to achieving accurate and visually appealing embroidery.
III. Importing the Logo:
Once the software is in place, the next step is importing the logo into the program. Designers can work with various file formats, such as vector files (like .ai or .eps), which are ideal for maintaining clarity and detail. Importing a high-quality image ensures a smoother transition into the digital realm.
IV. Adjusting and Editing:
After importing the logo, designers must fine-tune the design for embroidery. This involves adjusting stitch types, stitch directions, and densities to ensure the final product aligns with the original design’s visual intent. Designers may also need to make modifications to account for factors like fabric type, size, and intended use.
V. Selecting Stitch Types:
Embroidery machines use different stitch types to recreate a variety of textures and effects. Satin stitches are ideal for smooth and shiny surfaces, while fill stitches can be used for larger areas. Understanding the characteristics of each stitch type is crucial in accurately representing the logo in embroidery.
VI. Testing and Refining:
Before the final embroidery begins, it’s essential to test the digitized design on a sample fabric. This allows designers to identify any issues and make necessary adjustments. Testing also helps in determining the right thread colors and ensures that the final product meets quality standards.
VII. Exporting the Design:
Once the digitization and testing phases are complete, the final step involves exporting the design into a format compatible with the specific embroidery machine. Common file formats include .dst, .exp, and .pes.
Conclusion:
Digitizing logos for embroidery online is a meticulous and skillful process that requires a blend of artistic vision and technical expertise. By leveraging specialized software, understanding stitch types, and conducting thorough testing, designers can breathe life into logos, transforming them into beautifully embroidered masterpieces. This marriage of traditional craftsmanship and digital precision exemplifies the ever-evolving nature of the textile arts.


