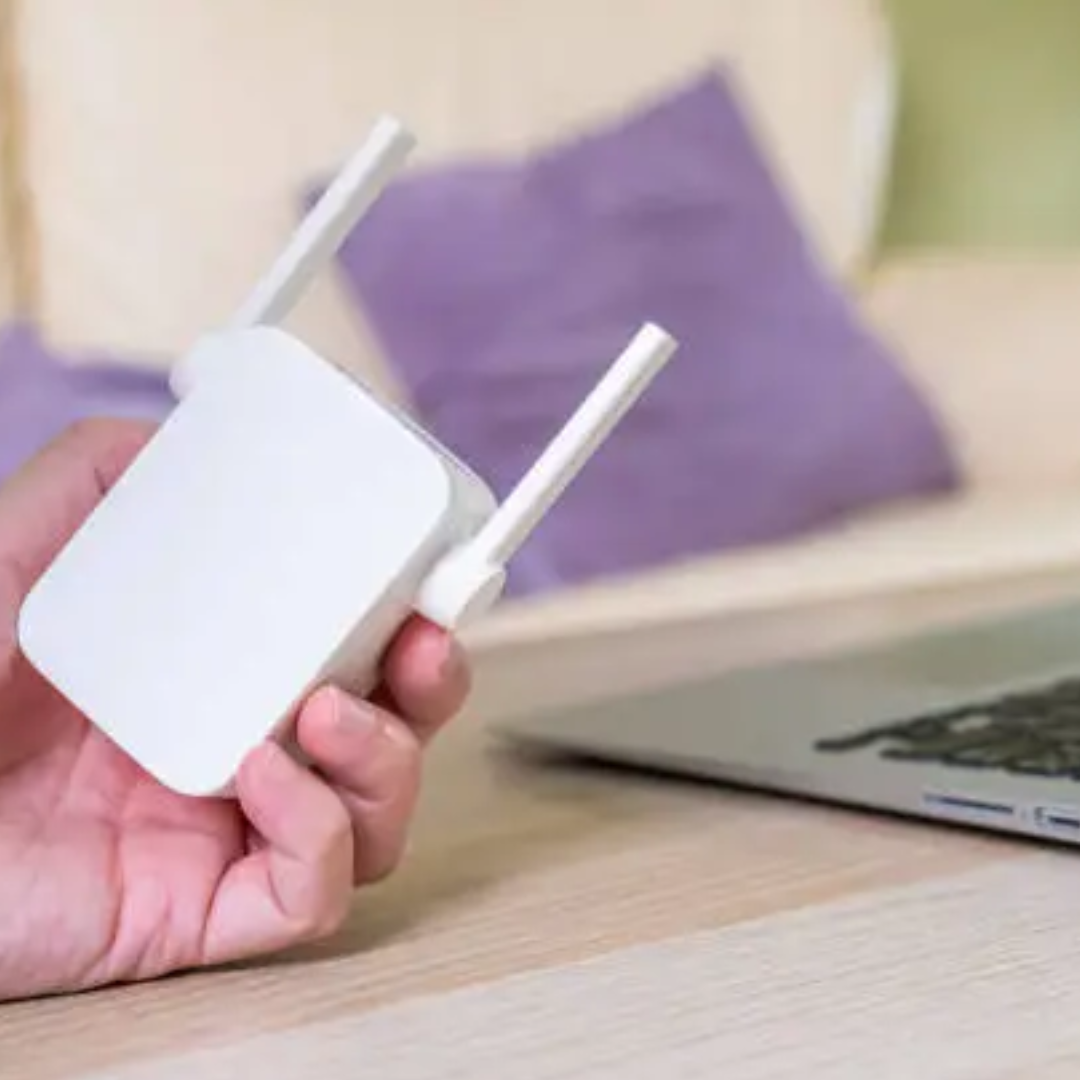
If you’re looking to enhance your home network’s coverage and speed, setup for Netgear WiFi extender is a smart choice. In this guide, we’ll walk you through the process, step by step, to ensure a seamless and robust internet connection.
Unboxing Your Netgear WiFi Extender
Before we dive into the setup process, ensure you’ve unboxed your Netgear WiFi extender and have the following items ready:
-
Netgear WiFi Extender
-
Power Adapter
-
Ethernet Cable (optional)
Initial Setup
-
Power On: Plug in your Netgear WiFi extender using the provided power adapter. Make sure it’s placed within the range of your existing WiFi router.
-
Connection: If you prefer a wired connection, use an Ethernet cable to connect your extender to your router. This can help improve the initial setup process.
-
LED Indicators: The LED indicators on your extender should light up. They will indicate the strength of the connection between your extender and the router.
-
Access Point Mode: For the initial setup, we recommend configuring your extender in Access Point Mode. This allows your extender to broadcast a new WiFi network with the same SSID and password as your existing router.
Accessing the Extender
-
Connect to the Extender: On your computer or mobile device, locate the new WiFi network named after your extender. Connect to it.
-
Log In: Open a web browser and type in the default web address for your Netgear extender, usually something like “mywifiext.com.”
-
Login Details: You’ll be prompted to enter your login credentials. If you haven’t changed them, the default username and password are usually “admin” and “password,” respectively.
Configuration
-
Wizard Setup: Follow the on-screen instructions provided by the Netgear Genie setup wizard. It will guide you through the configuration process, including selecting your existing WiFi network and setting up the extender’s network.
-
Choose Optimal Location: During the setup, the wizard will recommend the best location for your extender. Place it there to ensure optimal signal strength and coverage.
-
Network Name (SSID): You can either keep the default SSID or create a unique one for your extender’s network. Having a distinct name will help you identify it easily.
-
Password: Set a secure password for your extender’s network. This ensures that only authorized users can access it.
-
Review Settings: Double-check all the settings you’ve configured to ensure they match your preferences.
-
Apply Changes: Once you’re satisfied with the settings, click ‘Apply’ to save them.
Final Steps
-
Reconnect Devices: After the extender has been configured, reconnect your devices to the new extended WiFi network. Use the same password you set during the setup.
-
Placement: Ensure that your Netgear extender is placed in a central location for maximum coverage. Avoid obstacles and interference.
-
Troubleshooting: If you encounter any issues, consult the Netgear user manual or their online support resources for guidance.
By following these steps, you can effectively set up for Netgear WiFi extender and enjoy a stronger, more reliable WiFi signal throughout your home. Say goodbye to dead zones and slow connections, and hello to seamless online experiences!